
Campaign Generator New Request is a tool for automatic uploading of ad groups to traffic sources.
To use the generator, select the traffic source.
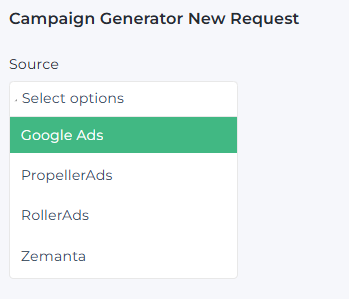
FORM FOR GOOGLE ADS
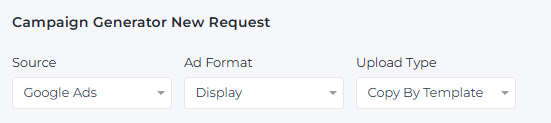
Ad Format and Upload Type filters are filled in automatically when Google Ads is selected.
Request Name – this field is filled in automatically by default with a combination of (Source + Date). If necessary, you can edit it or enter a custom name.

In Select the Google Ads account you want to upload campaigns to select the account number where you need to upload new ad groups. The system saves the last selected setting.

The Select the Google Ads campaign name to copy the settings contains the list of template campaigns.
The list of template campaigns can be found in Management -> Source Campaign -> Source Campaigns.
You can set the template campaign via Bulk Changes.
If template campaign is not found, you can get it via: Tools -> Partner Campaigns Searcher .
Fill out the form and click Filter. The system would process the request and your template will be available on the Source Campaigns page.

Note: If you were unable to add the Template campaign through Source Campaigns or locate it using Partner Campaigns Searcher, please follow these steps:
- 1. Go to the campaign settings on the source where the campaign was created.
- 2. Check if the template campaign contains a URL generated specifically for this campaign.
- 3. Make sure the ad group is active and the ad creative is paused.
- 4. Go to Partner Campaign Searcher and refresh the data.
To generate the URL, use Adgroup Form Generator or Adgroup File Generator Version 2. Fiil in Source, Partner, Site, Market, Device filters, and any keyword. Insert the generated URL into the source field of the template campaign.
If the selected template has a bidding strategy, a ‘New Bid’ field will appear. You can enter a new bid value in this field. If the value is not entered, the system wll import the bid value from the template.

Select Location Strategy – choose which strategy to use: Target or Exclusion. If you select Target, the previous behavior remains: the country is filled in automatically. If you select Exclusion, Target Locations field becomes unavailable, and the settings with excluded countries from the selected template campaign are applied automatically.
If you click Unit Promo Fields button, you can only change the strategy after clearing the form with Clean Create Form button or by refreshing the page and reselecting the source.

Target Location field is placed above Images field and automatically fills in the country. This allows you to upload ad groups with different geos within one account
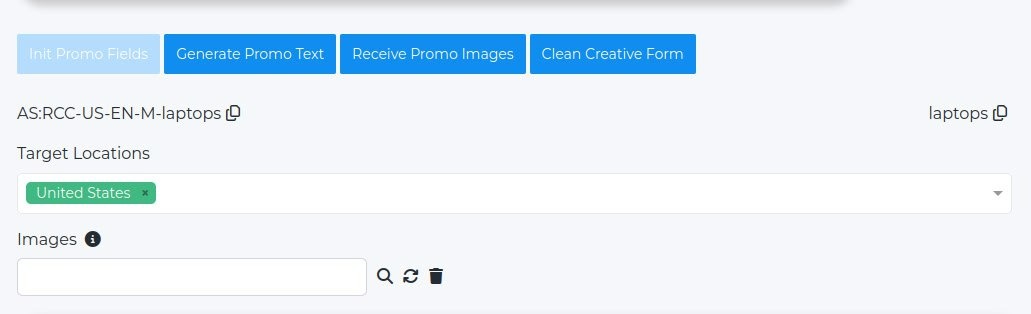
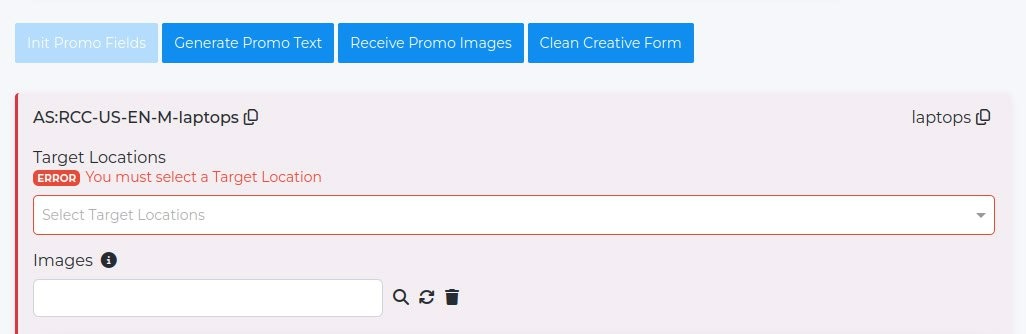
If you remove the country from Target Location field, the system will show an error when you click Create Campaigns button and will not allow ad group to be uploaded until the field is filled in.
Please keep in mind that due to Google's policy, if your includes the following locations: Crimea, Cuba, DPR, Iran, LPR, North Korea or Syria, your ad campaigns would be copied withour these countries.
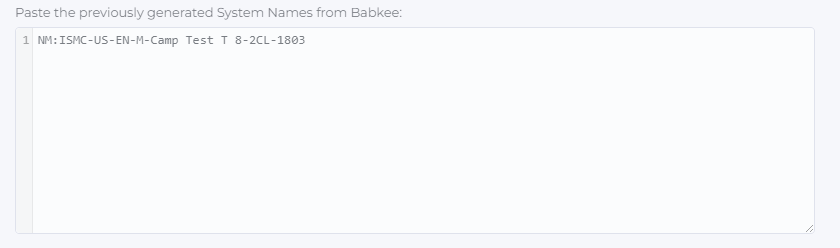
In Paste the previously generated System Names from Babkee you need to paste the system names from Babkee system. Then click the ‘Init Promo Fields’ button and fill out creatives for every ad group.
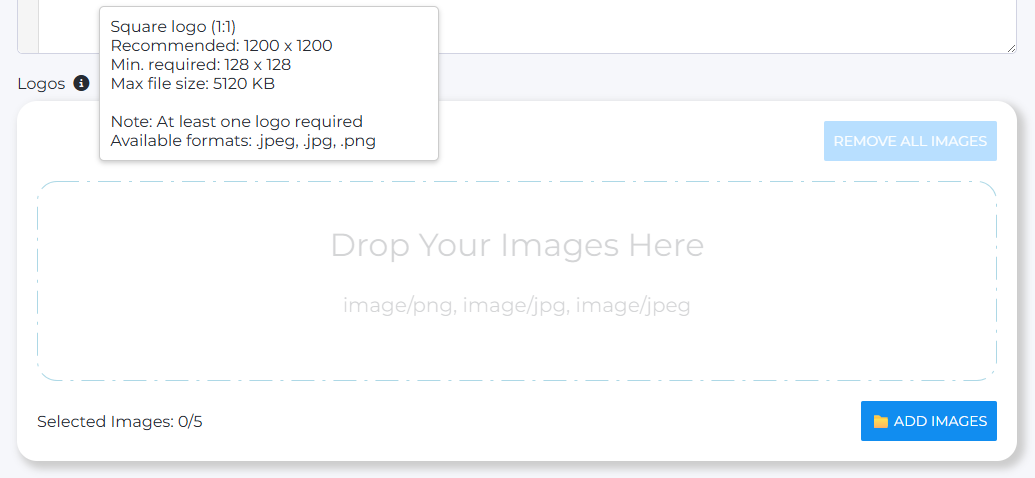
In Logos you need to upload your logo images. The minimum size is 128х128 px, the minimum size for widescreen ads logos is 512х128 px.
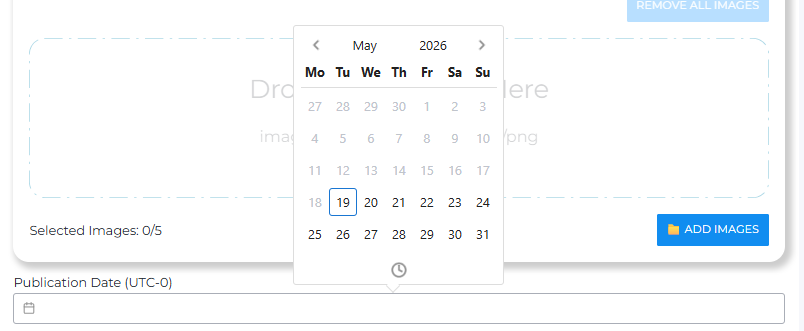
Publication Date is the date and time when the selected ad groups will be automatically launched and uploaded.
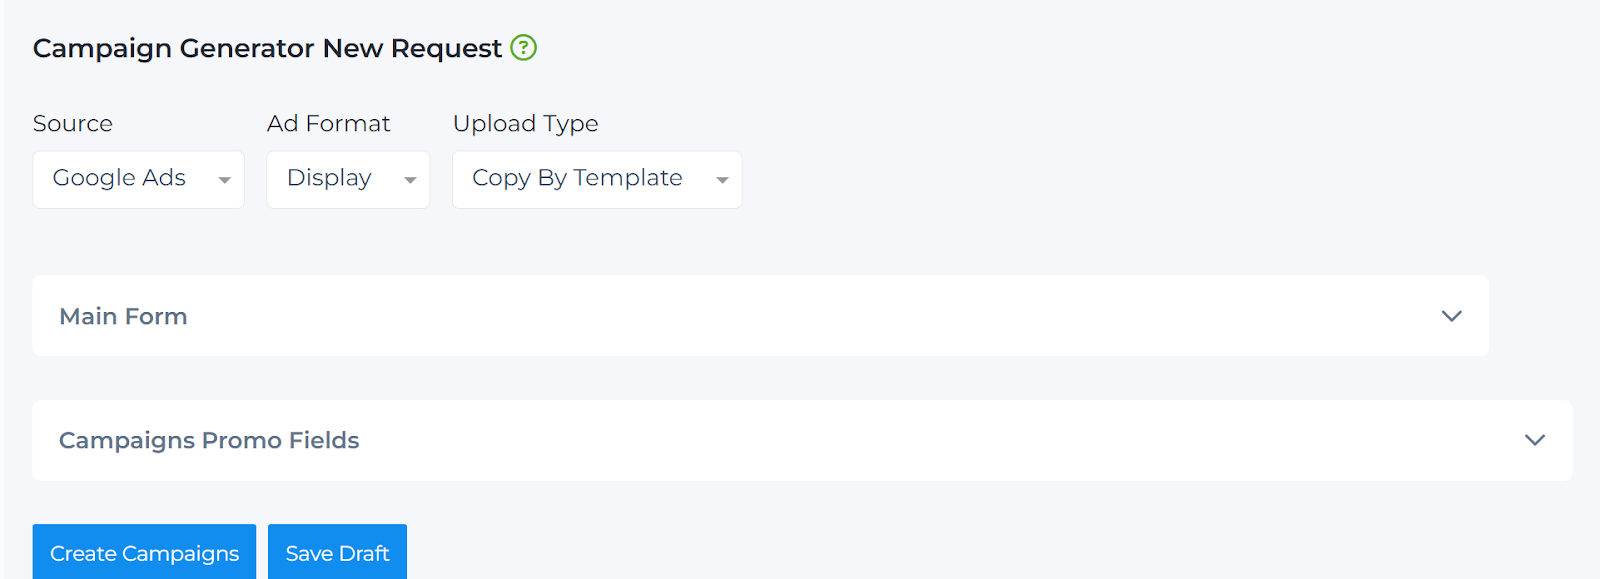
Part of the information can be collapsed for easier workflow. For example, you can collapse the Main Form and work only with the Campaigns Promo Fields.
ACTIONS WITH THE REQUEST

- Init Promo Fields button – checks the correctness of your System Names and the presence of ad groups for them, then displays forms for each ad group.
- Create Campaigns button – uploads the current request with ad groups to the selected traffic source.
- Save Draft button – saves the current request as a draft. Useful when you work with pre-approved ad groups.
- Create Preset button – creates a preset based on the filled fields.
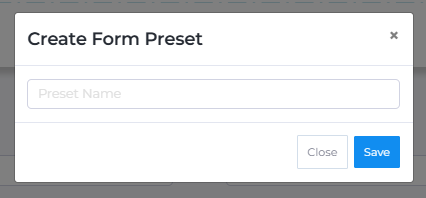
To delete a preset, click the cross in its upper right corner.
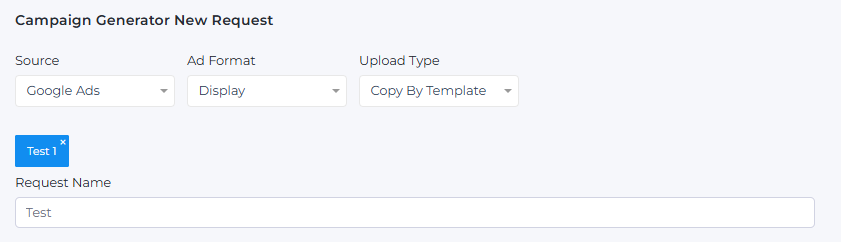
After clicking Init Promo Fields button, the other functions become available:
- When you click Generate Promo Text button (on the top of the page) – the system will generate ad text for all your ad groups. Every Feed contains its own Search Labels.
The language for Headlines, Long Headline and Descriptions is inherited from the Ad Group. There are 30 options to regenerate for Headlines and 15 options for Long Headline and Descriptions (considering available Search Labels options for Feed). To generate new texts for all ad groups, press the button again. Numbers in the text field indicate how many characters remain.
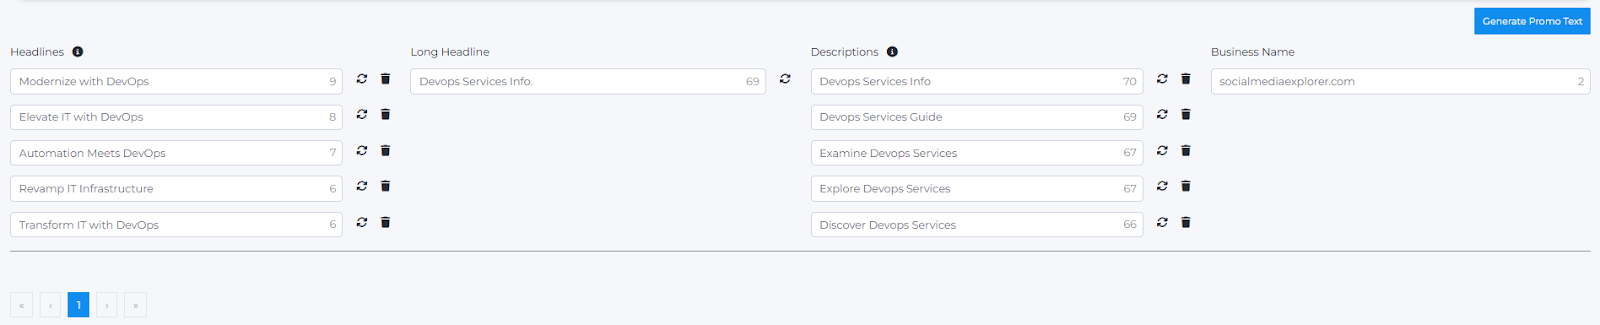
Generate Promo Text button near the text block will generate text for this specific ad group only.

If you consider the text in Descriptions too long, you can shorten it with no risk of getting an error.

The digits display the number of available symbols left in the field.
If you do not add Search Labels for the Feed, the system would not be able to generate Headlines, Long Headlines and Descriptions. In this case please contact our support team via @BabkeeBot to add new options.

If third-party services, for example, ChatGPT, return an error, we will display a specific error message. In this case please contact @BabkeeBot as well.

If you have entered incorrect System Names, (for example, the Feed is missing), please check if this partner is active or not. If this partner is active, please contact @BabkeeBot.

Business Name is generated automatically. If the domain name is too long, it is cut to the first-level domain name. If the domain name is still too long, the system will add Search ads.
Note: For Google Ads, the default Call To Action is set to Learn More.
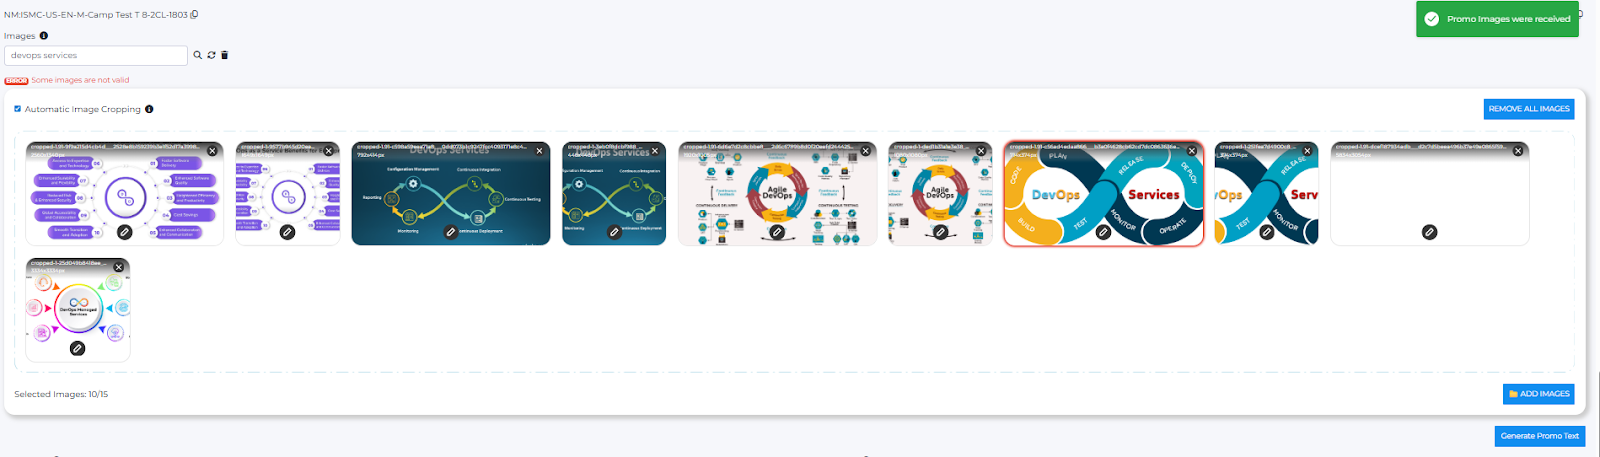
- Receive Promo Images button – generates images for all created ad groups after you fill in the text field.
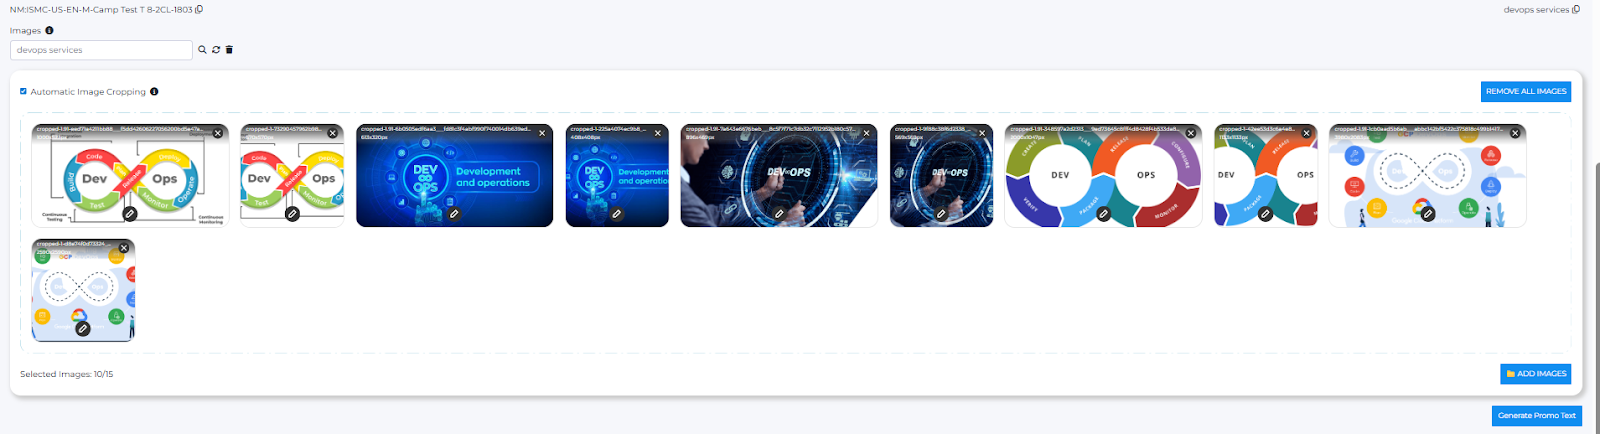
If the generated images don’t suit you, enter your keyword in Images field and press Loupe icon to search for new options.

- Regenerate icon refreshes images based on the entered query.
- Trash (Delete) icon deletes the current search query in the Images field.
- Remove All Images button deletes all images at once.
Individual images can be deleted manually through the user interface by clicking the cross in the upper right corner of each image.
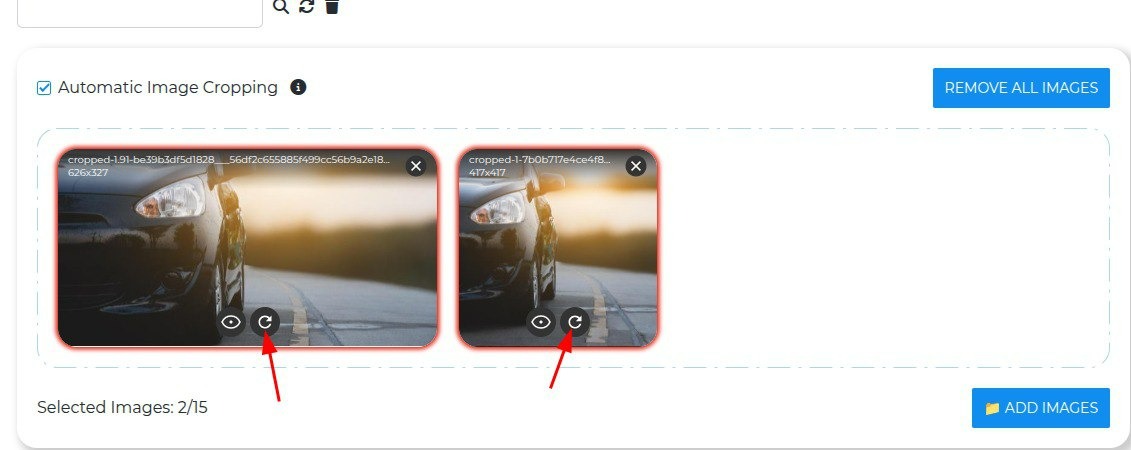
Note: If an image contains an error, it will be highlighted with a red border, and clicking on the pencil icon will show a description of the issue.
When uploading images, if a server error occurs, the image is marked with a red border, and a regeneration icon appears below it.
- Clean Creative Form button – clears System Names field and all generated texts and images while keeping important settings filled: selected Zemanta account, campaign template, geolocations, bid values (if specified), and logos. After clearing the form, you can add new System Names and press Init Promo Fields button again to create new creatives.
NOTE! You can use your own texts when working with the generator. To add your text, copy the list of items in a column and paste them into the corresponding column in the generator. The texts will automatically distribute across all empty rows in that column and apply to your ad groups. If a row is already filled, its content will not be overwritten — the insertion will start from the next available empty row. At the same time, if a specific row is occupied, the text for that row will not move to the next one but will be completely ignored. If you paste texts in parts, you can continue inserting them anywhere there is an empty row — new rows will be filled sequentially.